 "Captain of the Enterprise" (justanotherdayinparadise)
07/23/2017 at 17:22 • Filed to: Headlights, Toyota, Toyota Corolla, Corolla
 6
6
 14
14|
"Captain of the Enterprise" (justanotherdayinparadise)
07/23/2017 at 17:22 • Filed to: Headlights, Toyota, Toyota Corolla, Corolla | 6
| 14 |
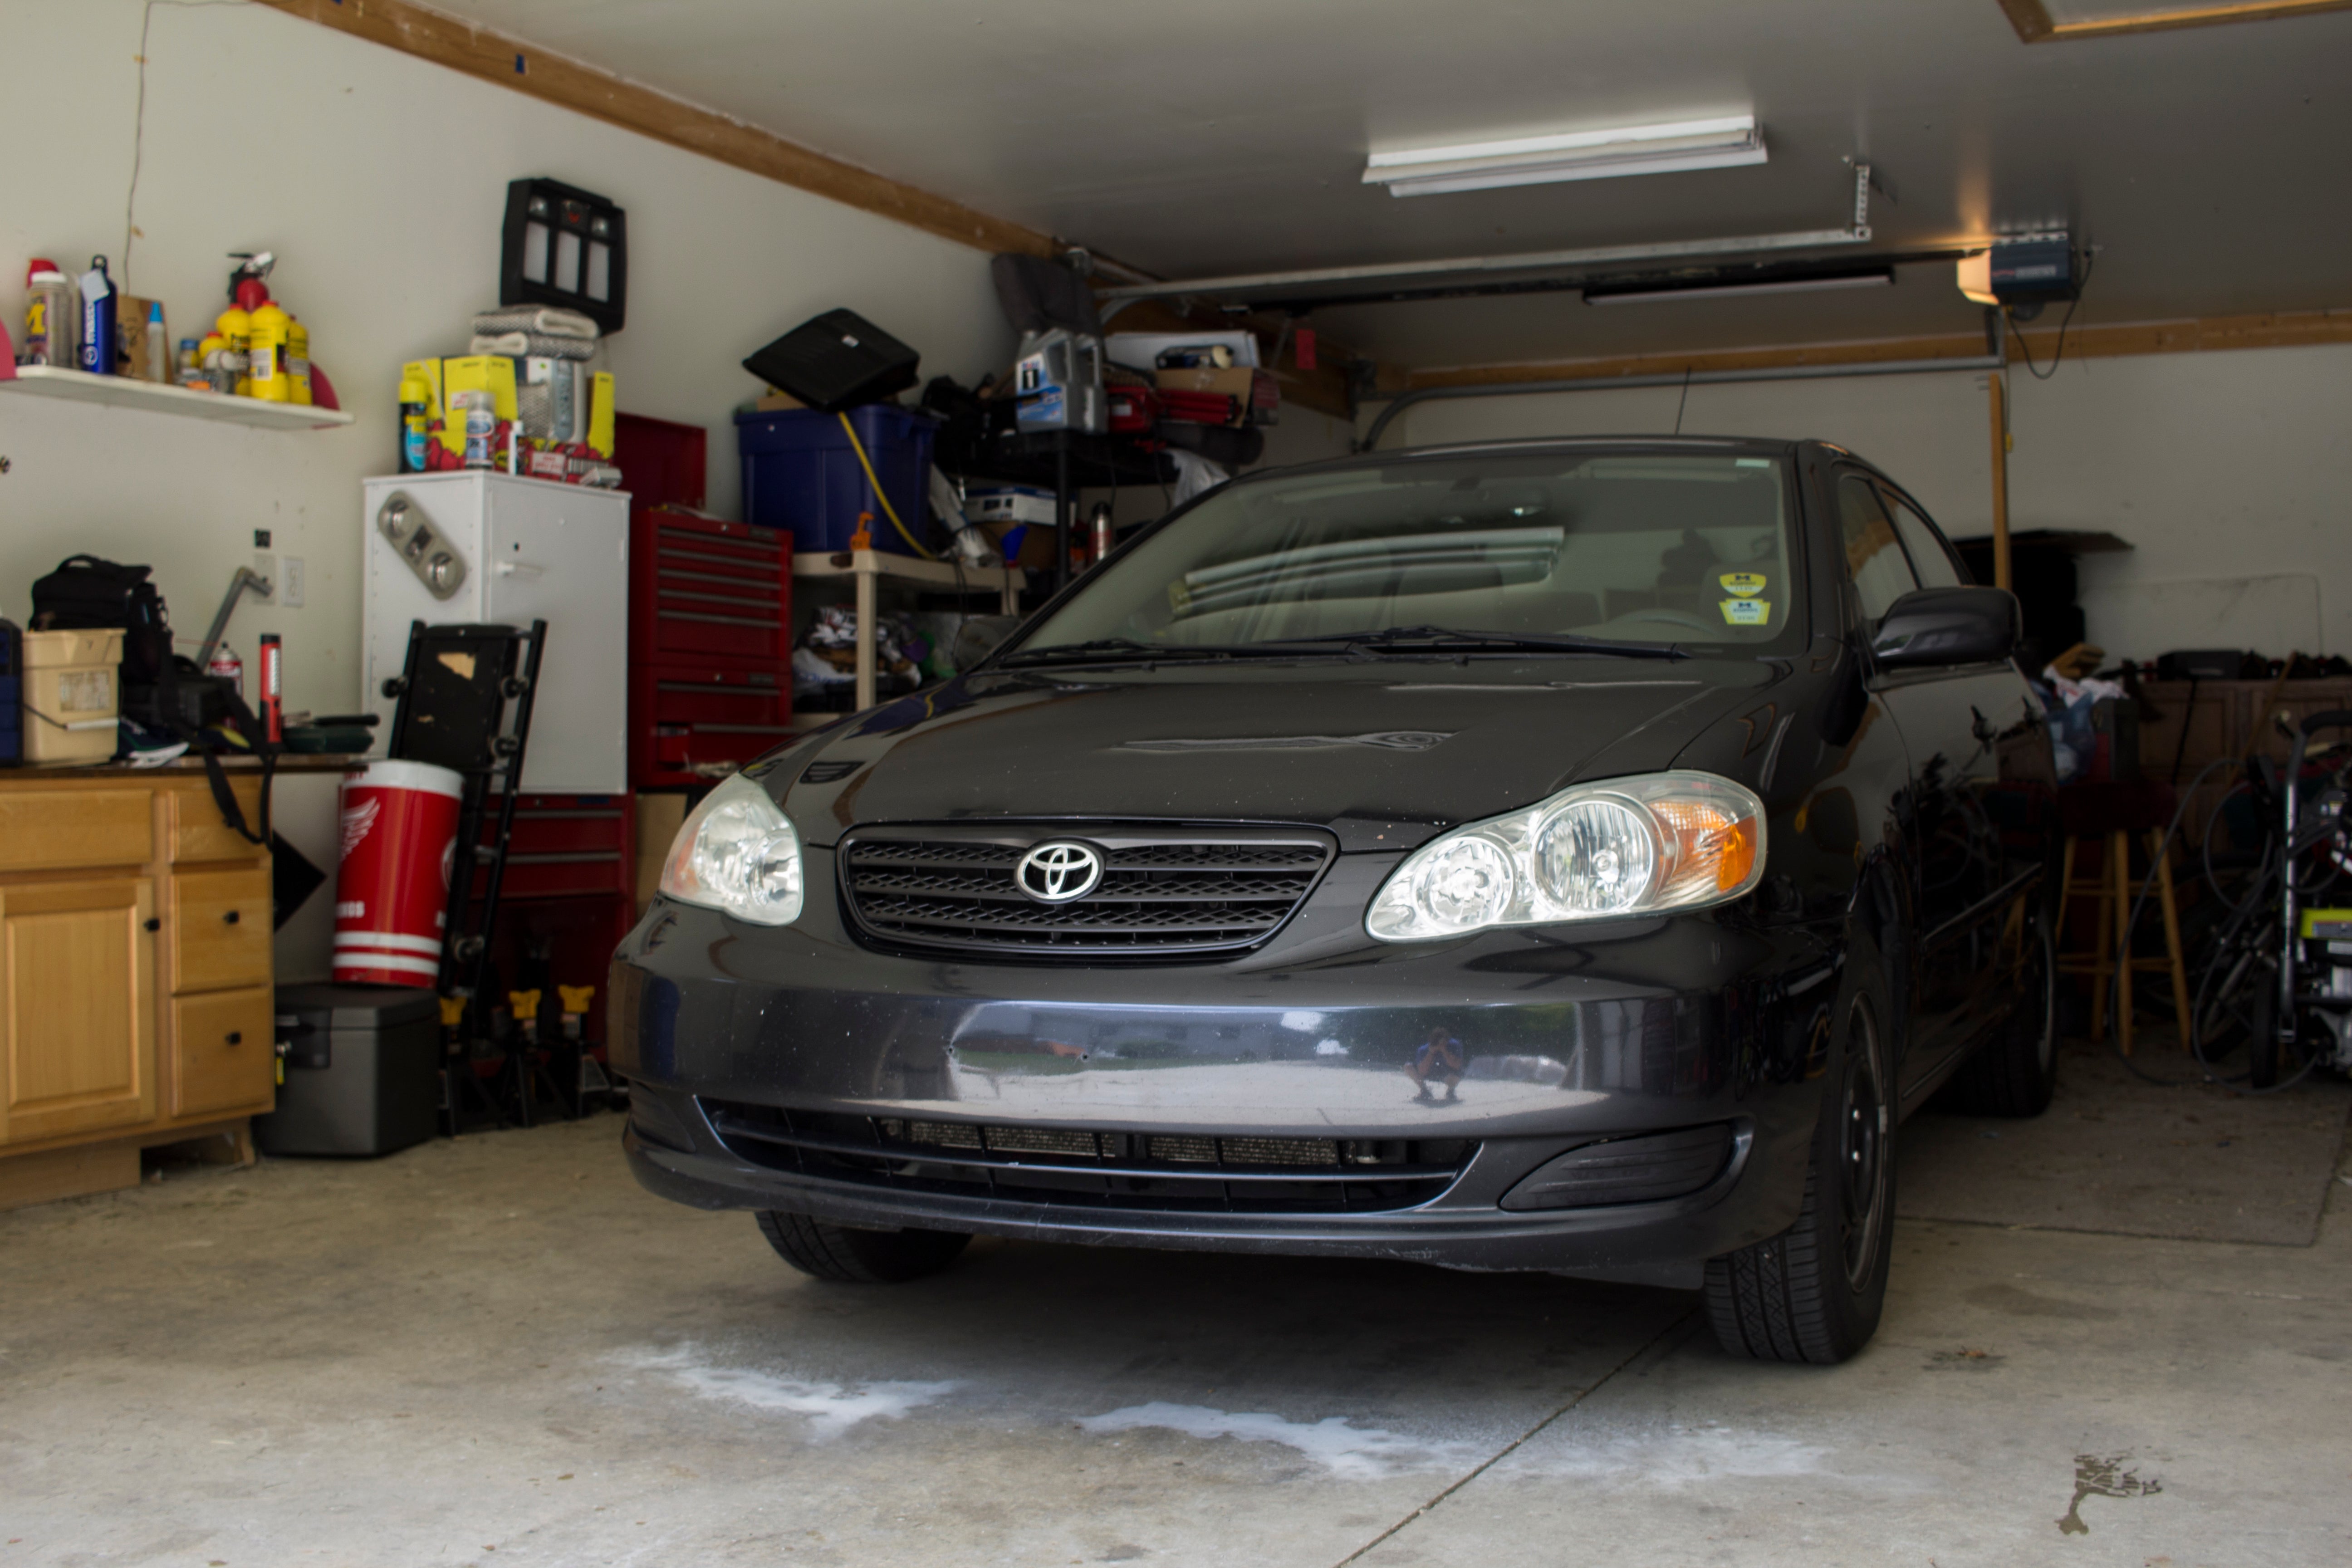
This weekend all my friends were away so I figured that this would be a good project to keep me busy. The car is my 2005 Toyota Corolla Le. I did this process last year but stopped after polishing and applying a UV coating. I reapplied the coating but less than a year later they had faded over again. I did some online research and some people had good results with using clear coat after going through my previous process. They claim it lasts much longer with the clear coat so I figured I would give it another go.
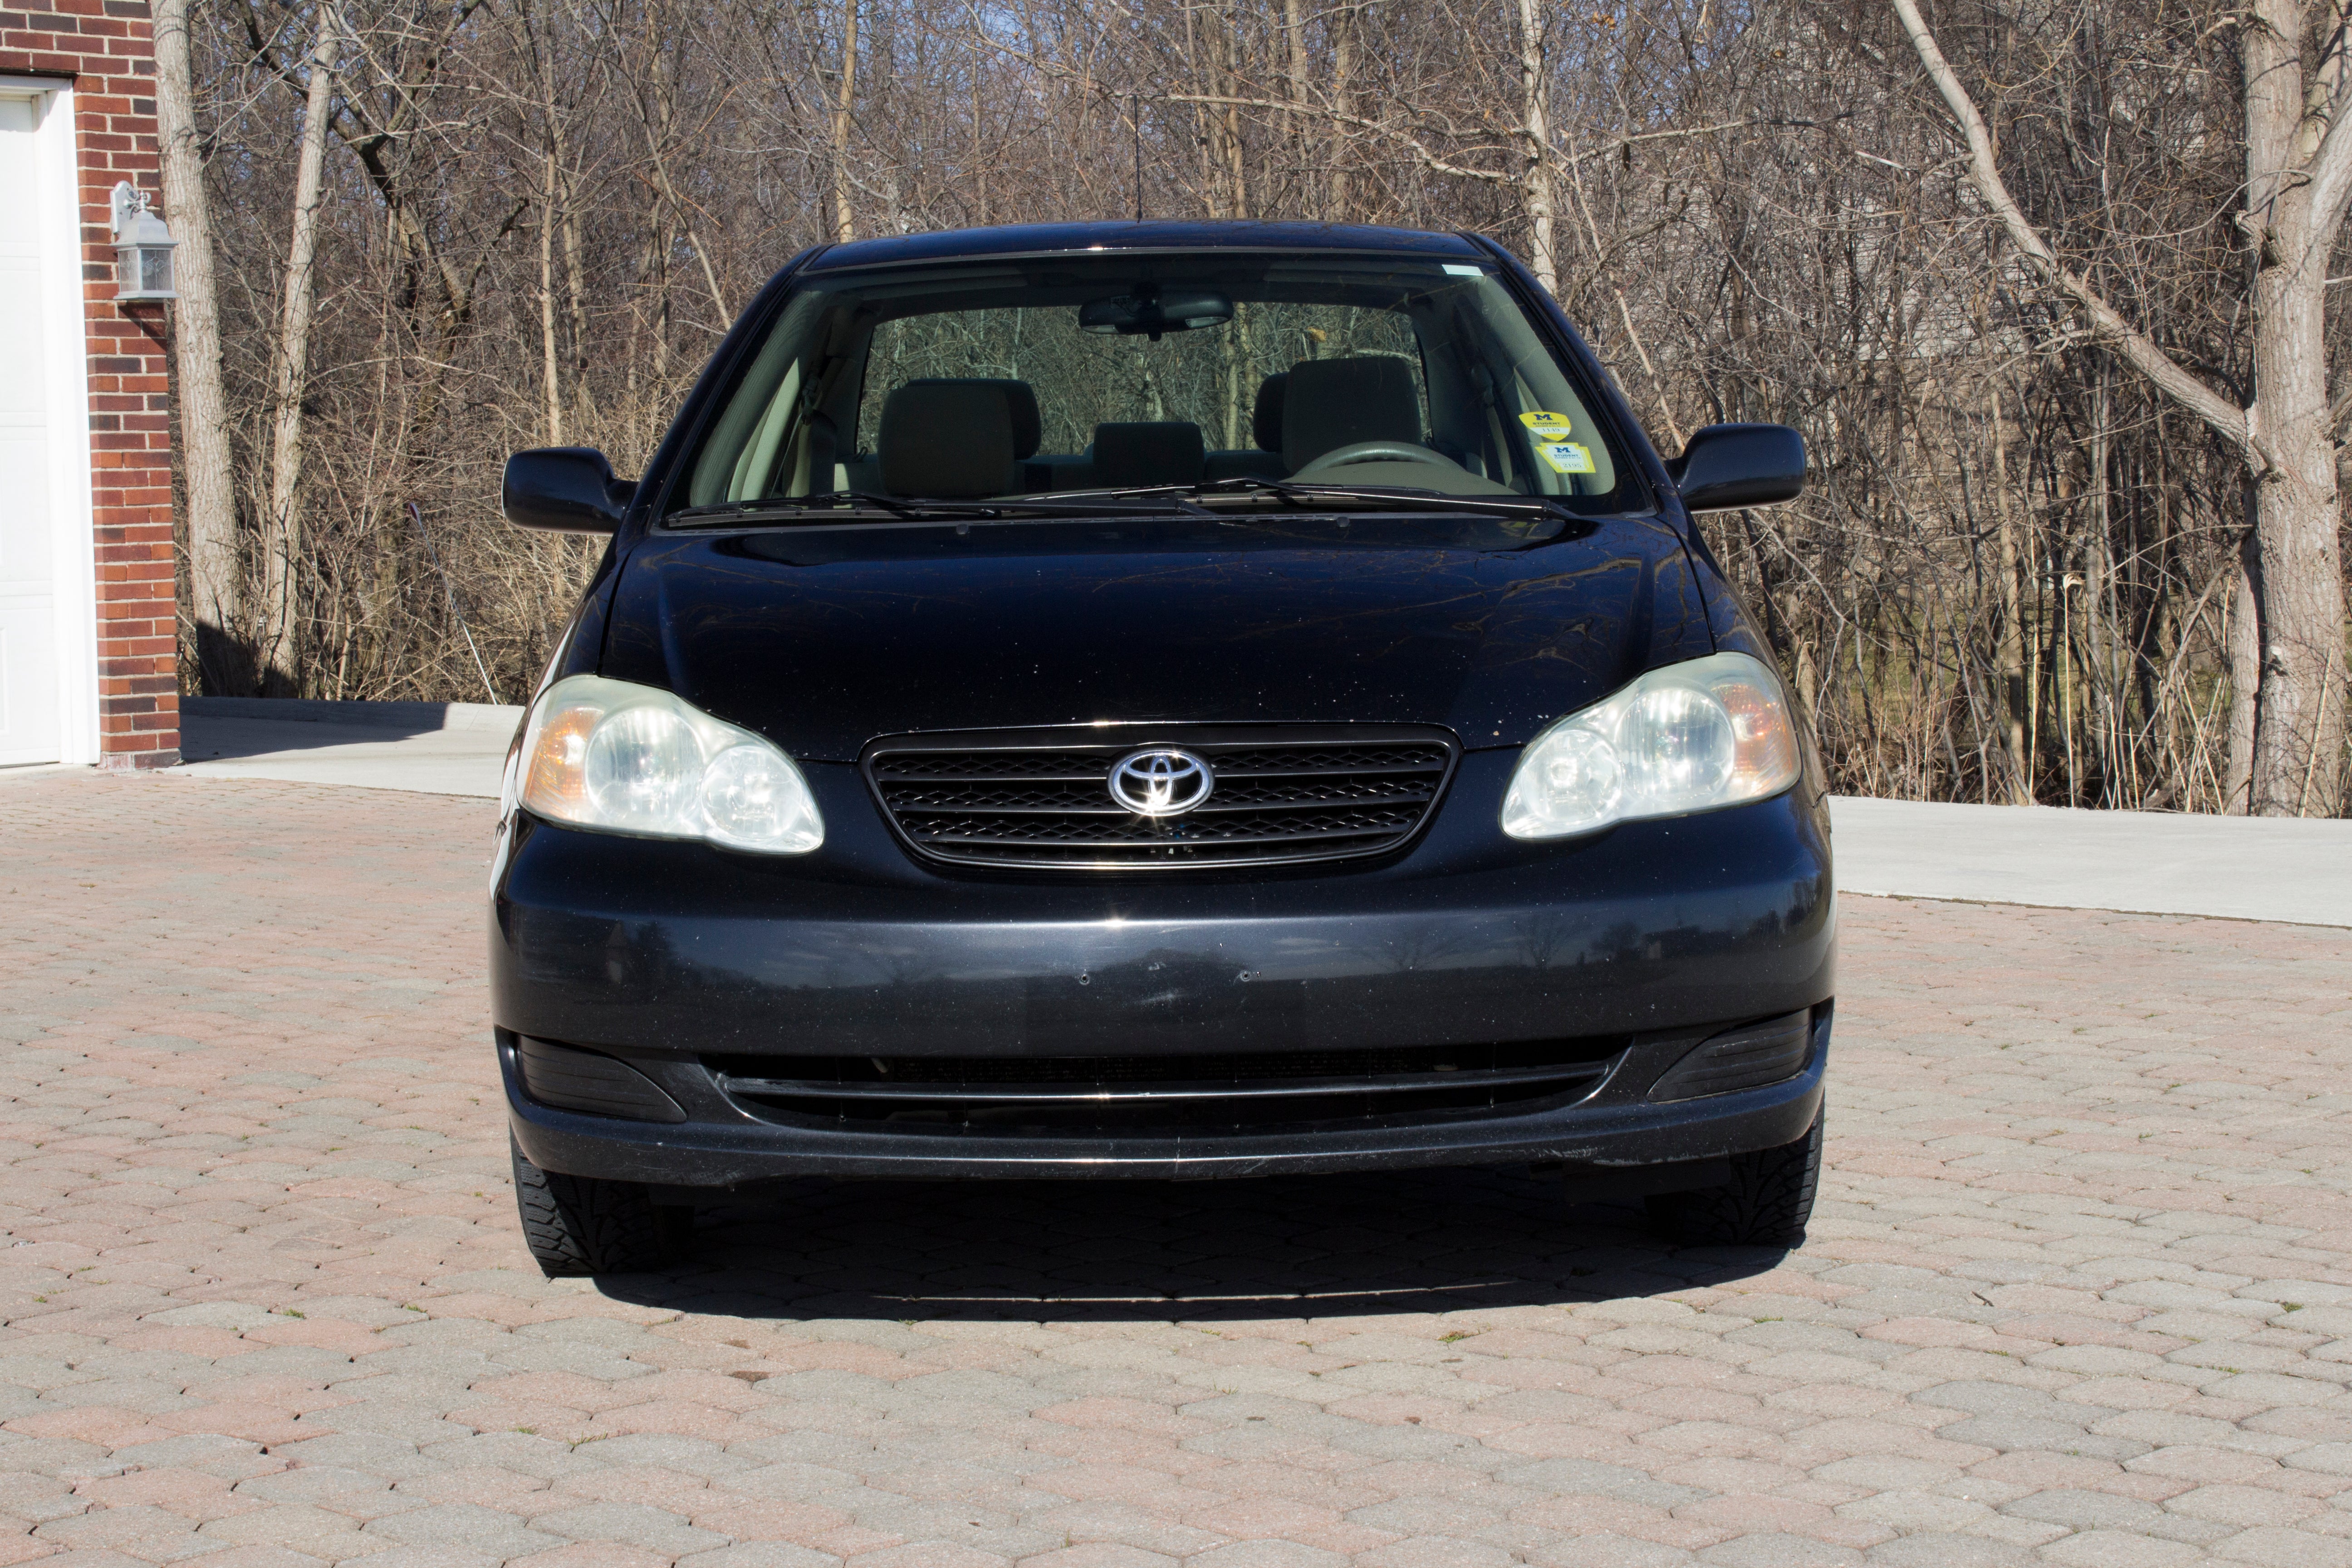
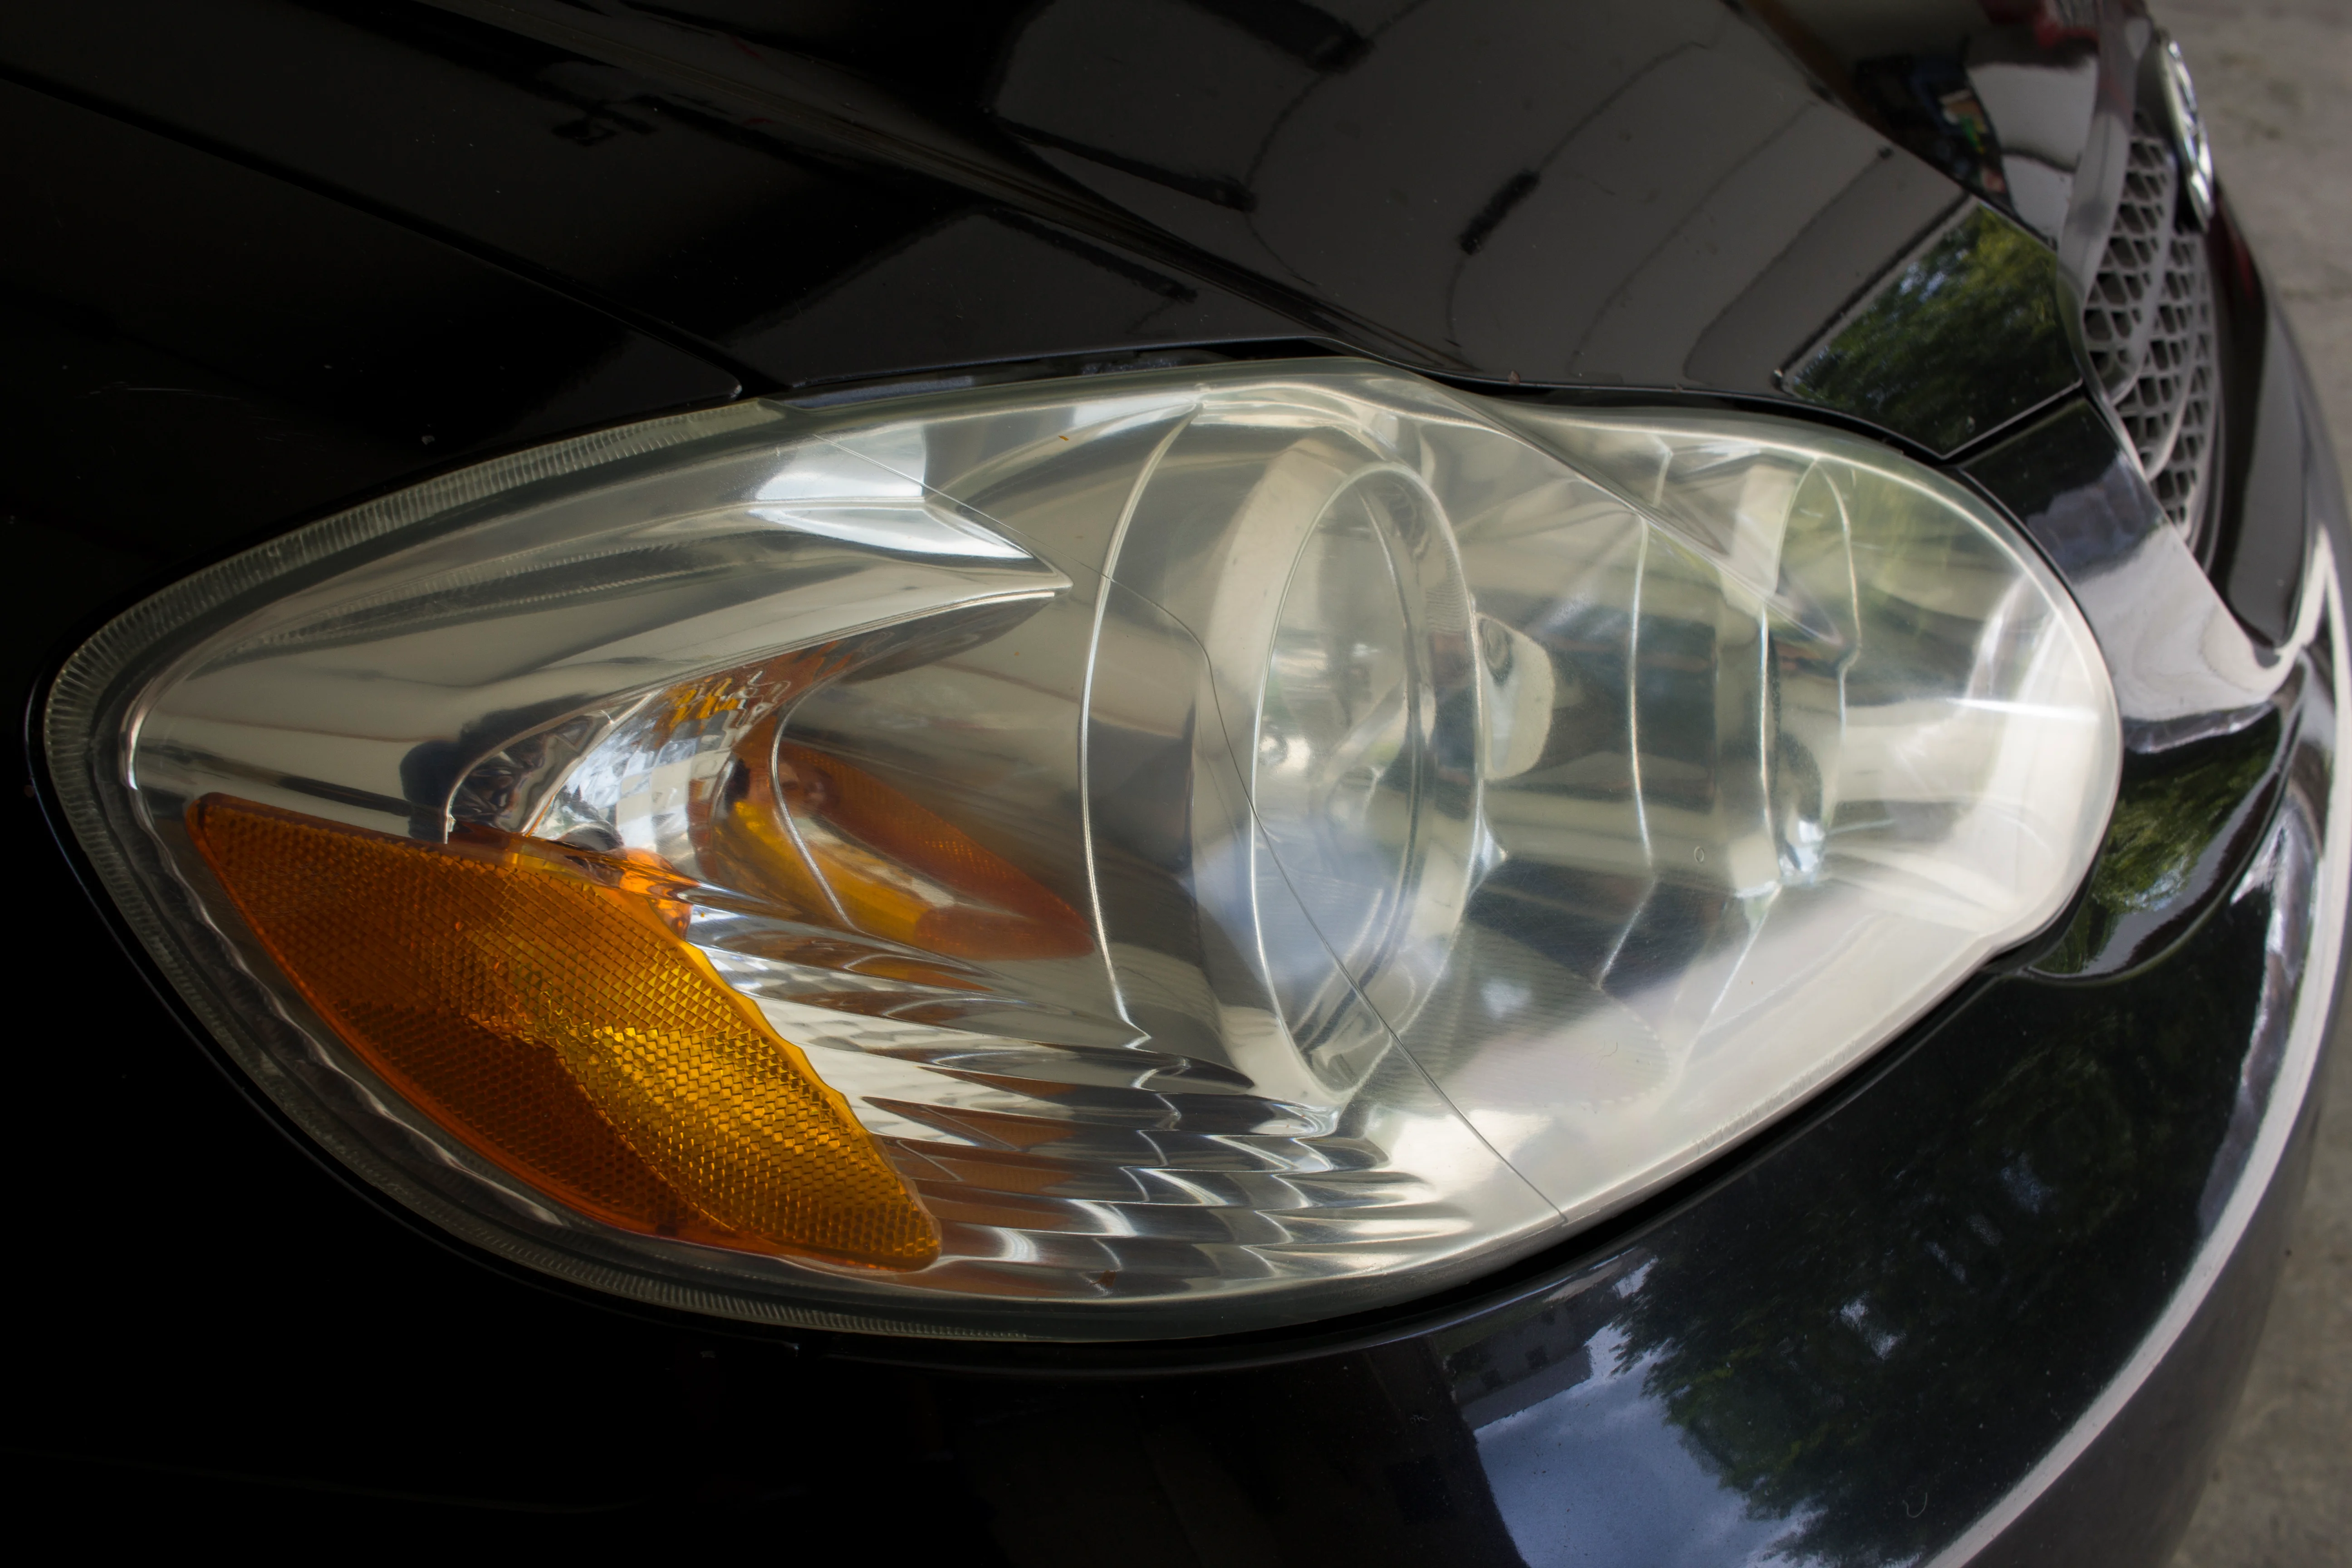
This was the before from a few months ago (I forgot to take a before shot yesterday).
The Process
Step 1: Disassembly
In order to remove the headlights I had to remove the bumper.

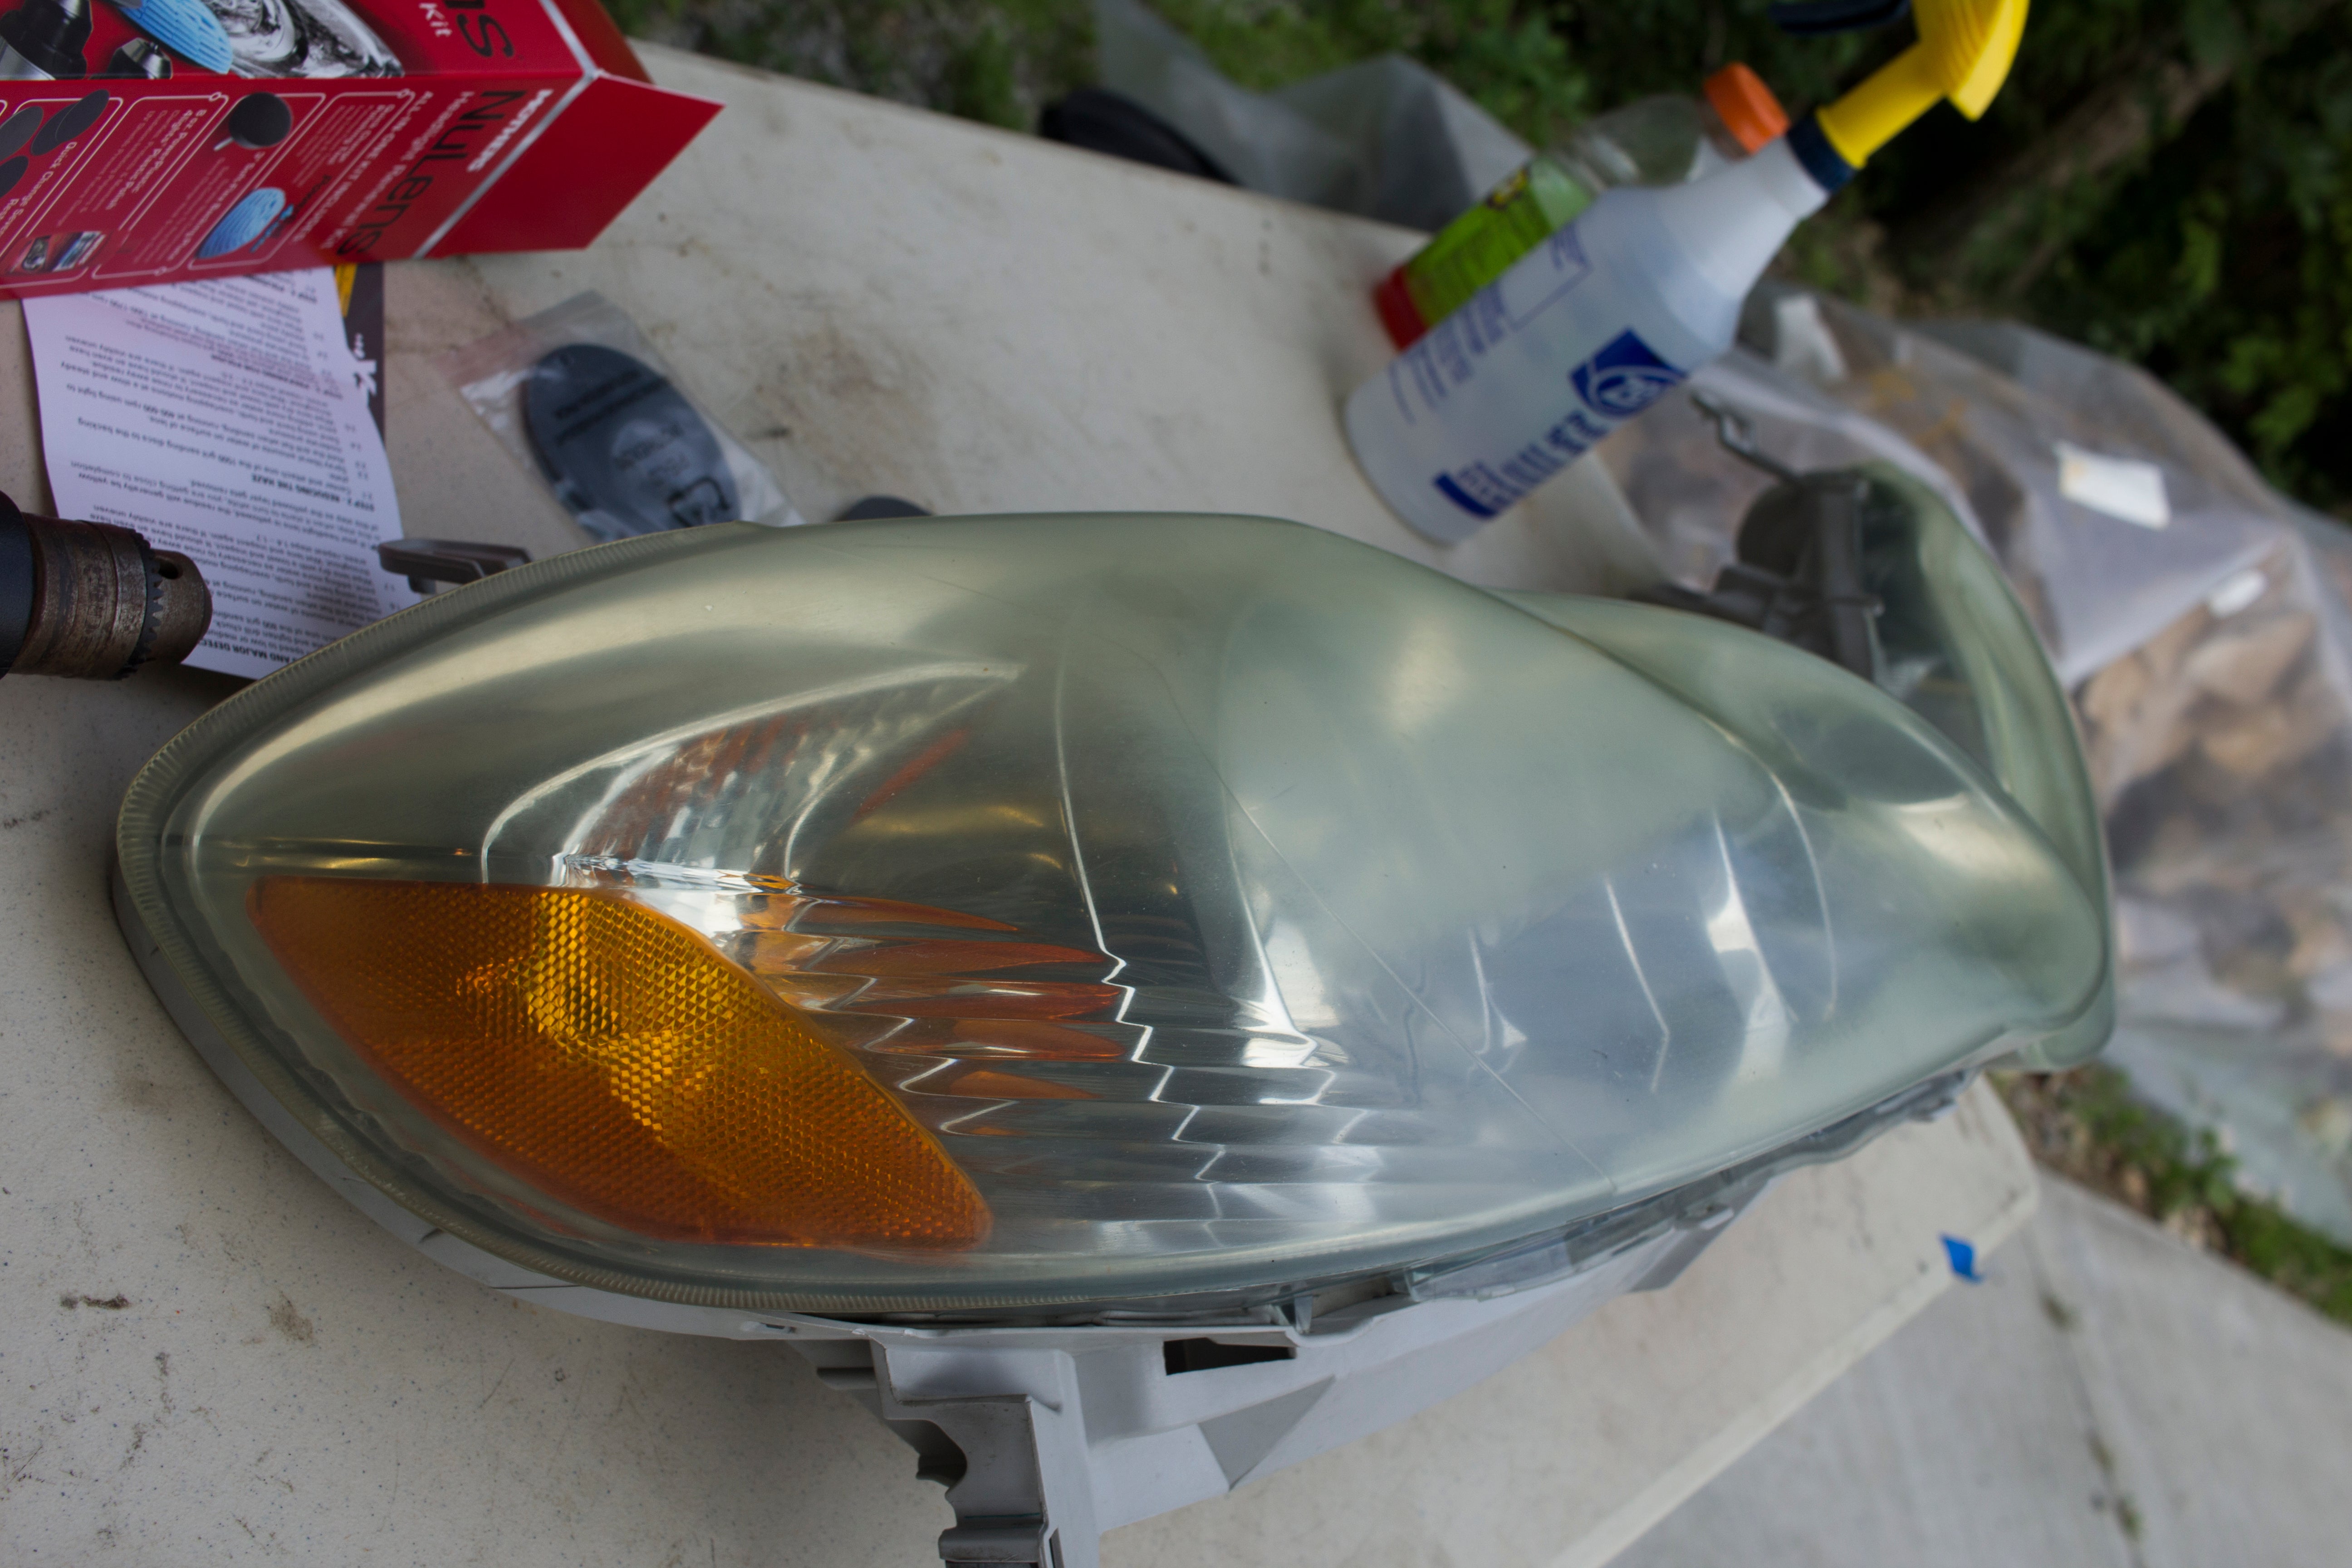
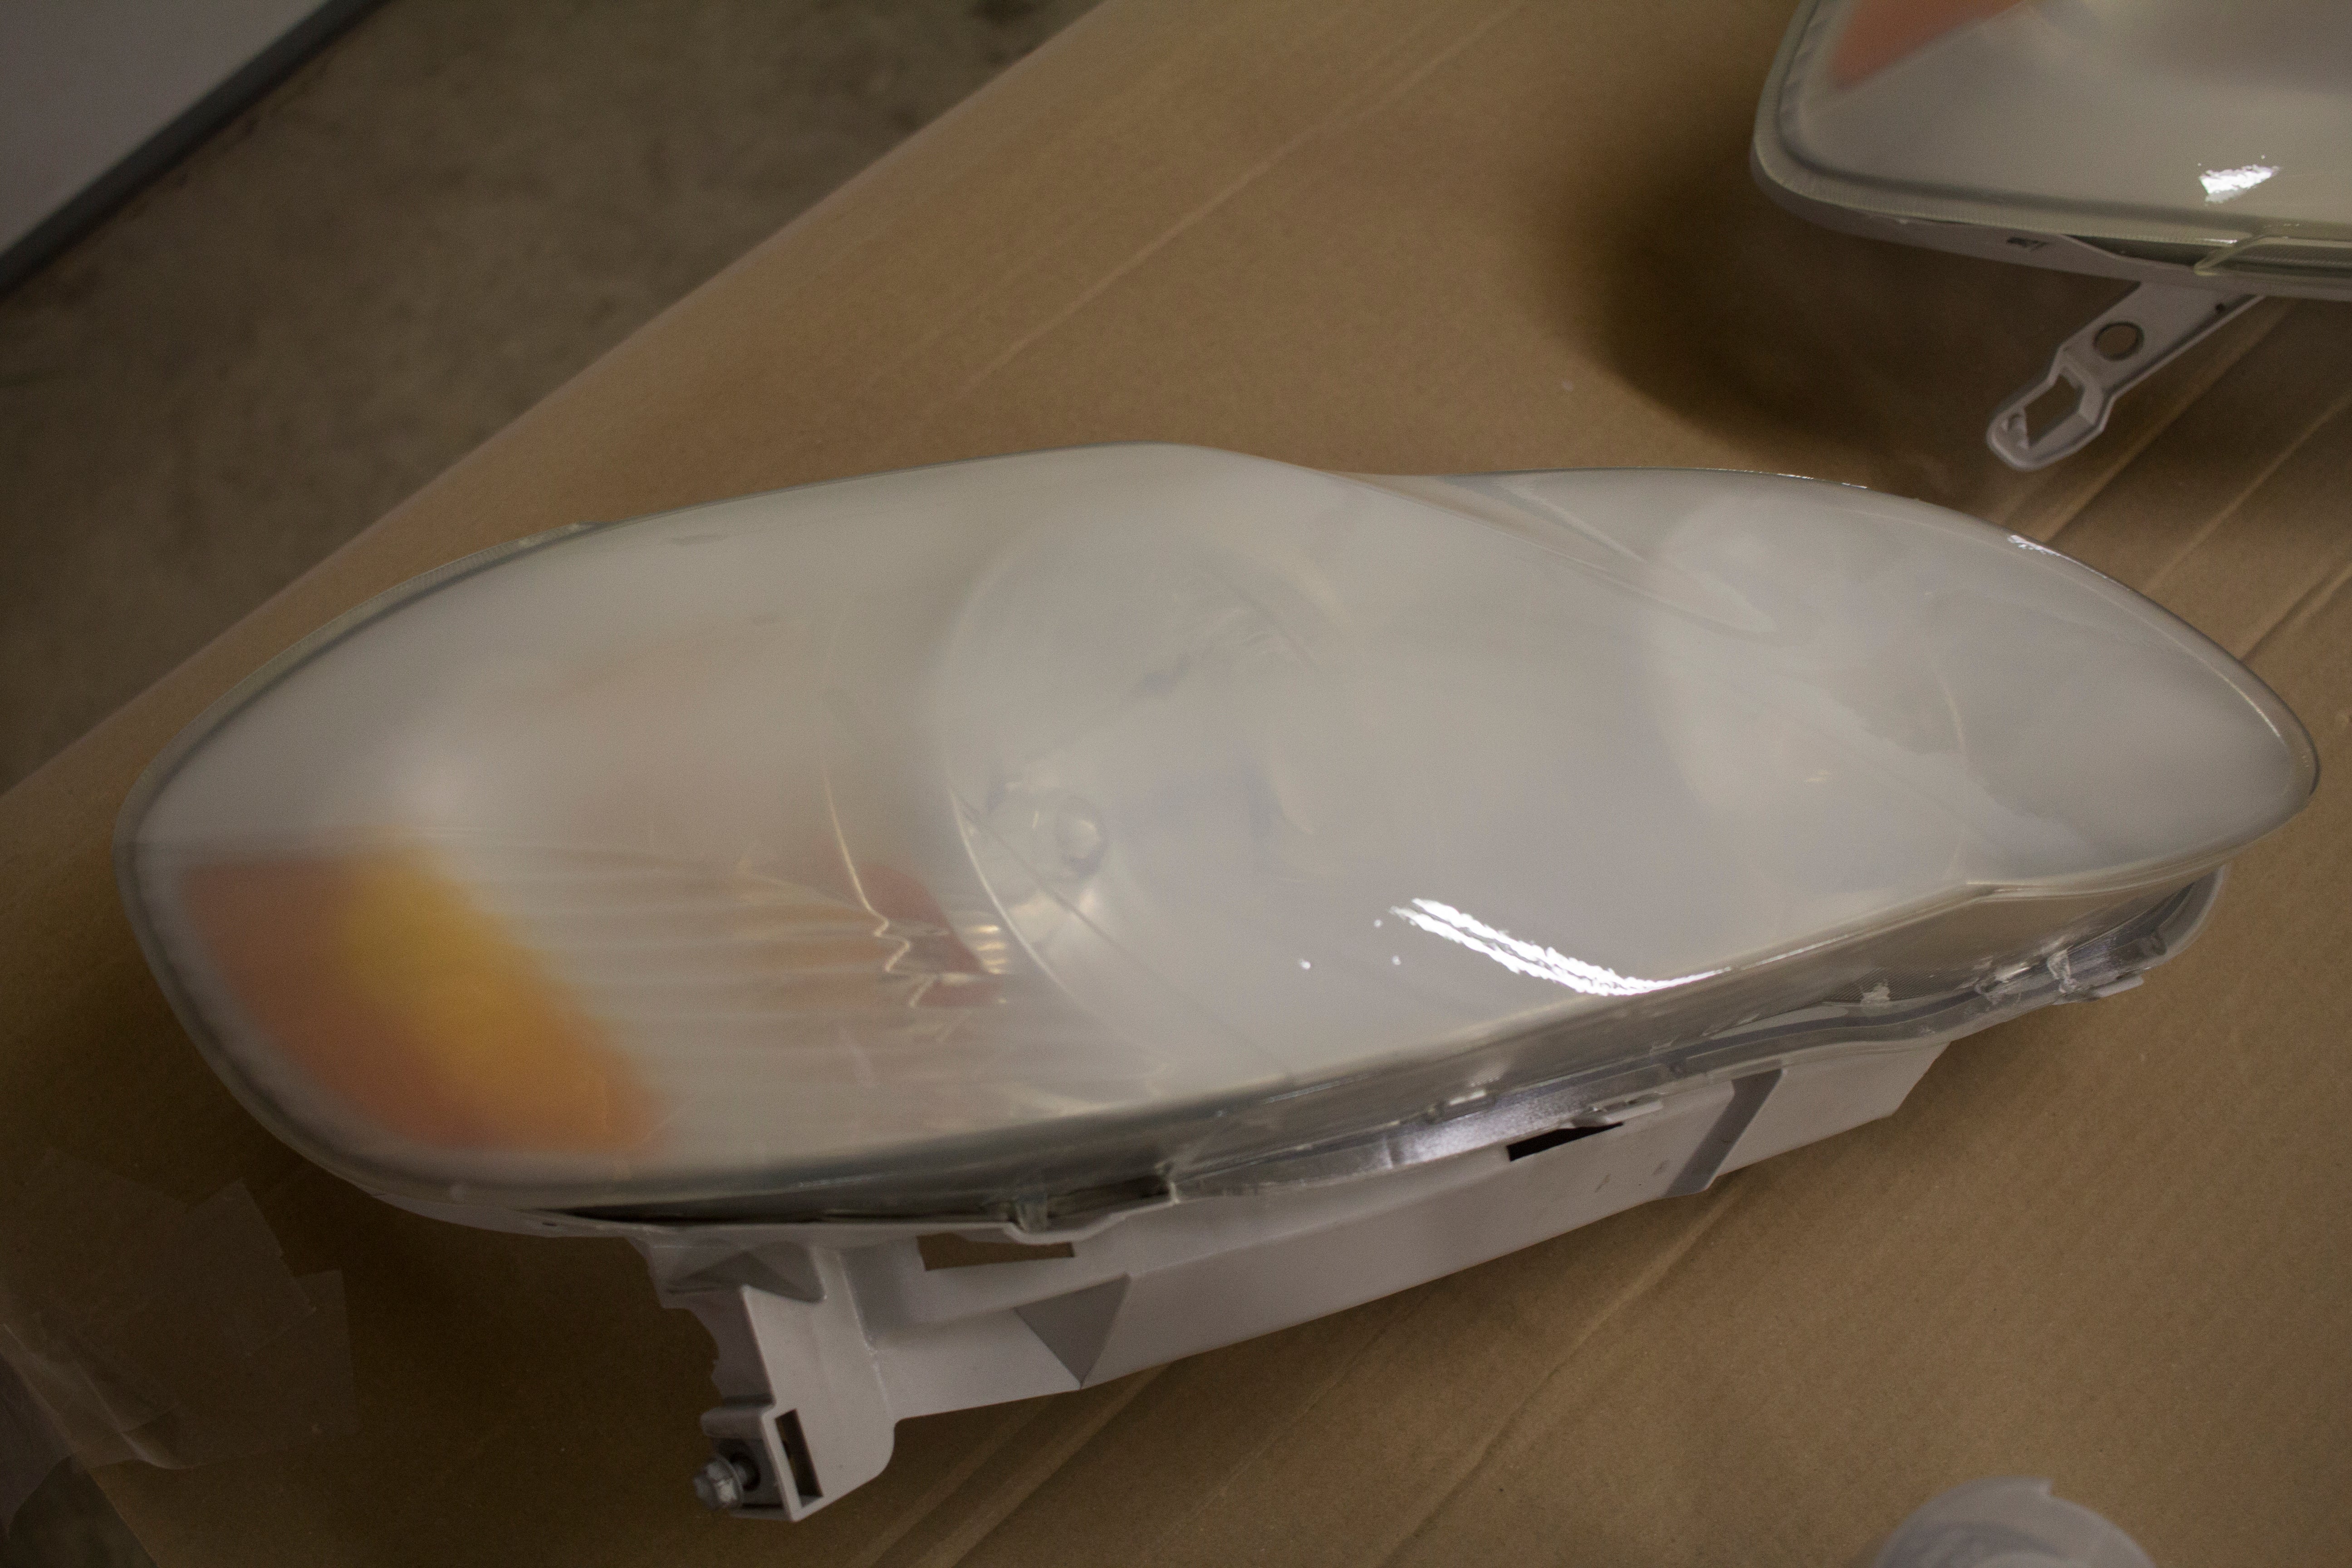
Step 2: Sanding
I started the sanding process by wet sanding with 800 grit sandpaper. Then I moved to 1500 grit and then dry sanded with 3000. All of this was done with a drill attachment.
Step 3: Polishing
I used polishing formula and and a polishing wheel to polish out the haze from sanding.
Step 4: Clearcoat
I used a UV resistant clear coat to coat the lens.
Step 5: Wet Sanding the Clear Coat
I hand wet sanded with 800 and 2000 and then dry sanded with 3000 grit paper.
Step 6: Polish
I used polishing compound and the polishing drill attachment to polish out the clear coat.
Step 7: Seal
I used an automotive sealant on top of the clear coat to protect it and try to make it last longer. It claims to last a year but I will try to reapply it every month since it only takes a couple of minutes.
Step 9: Reassembly

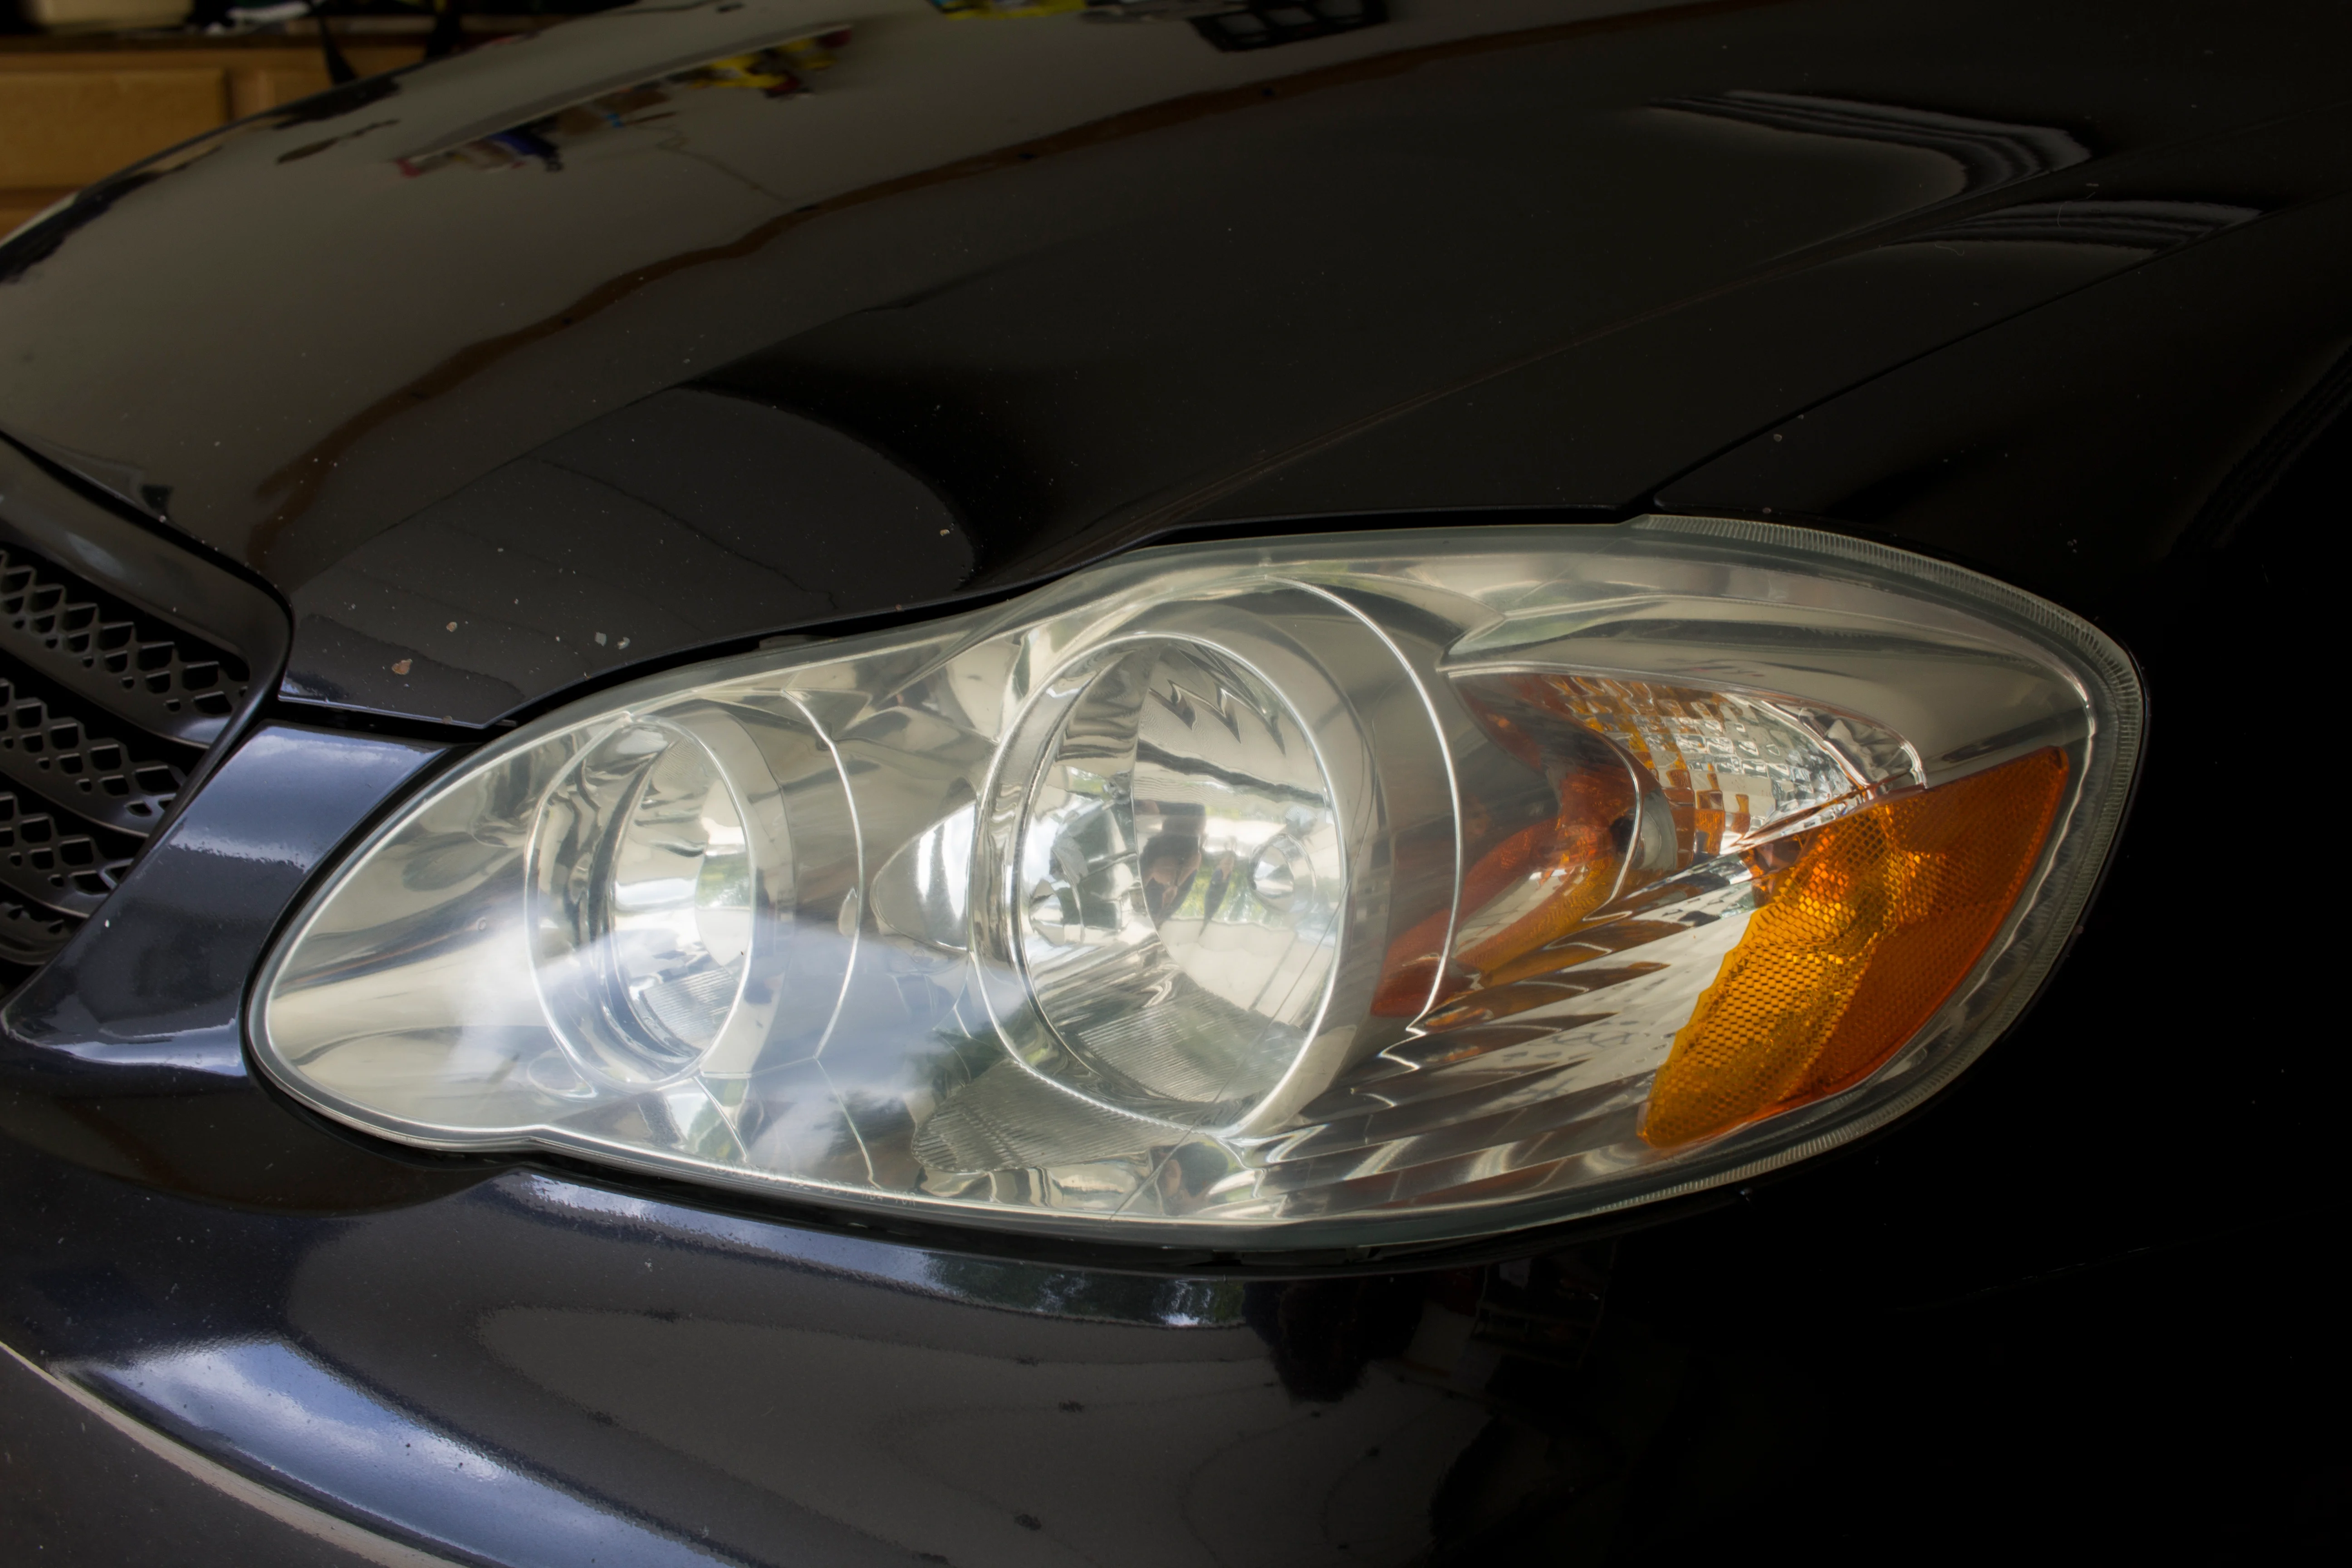
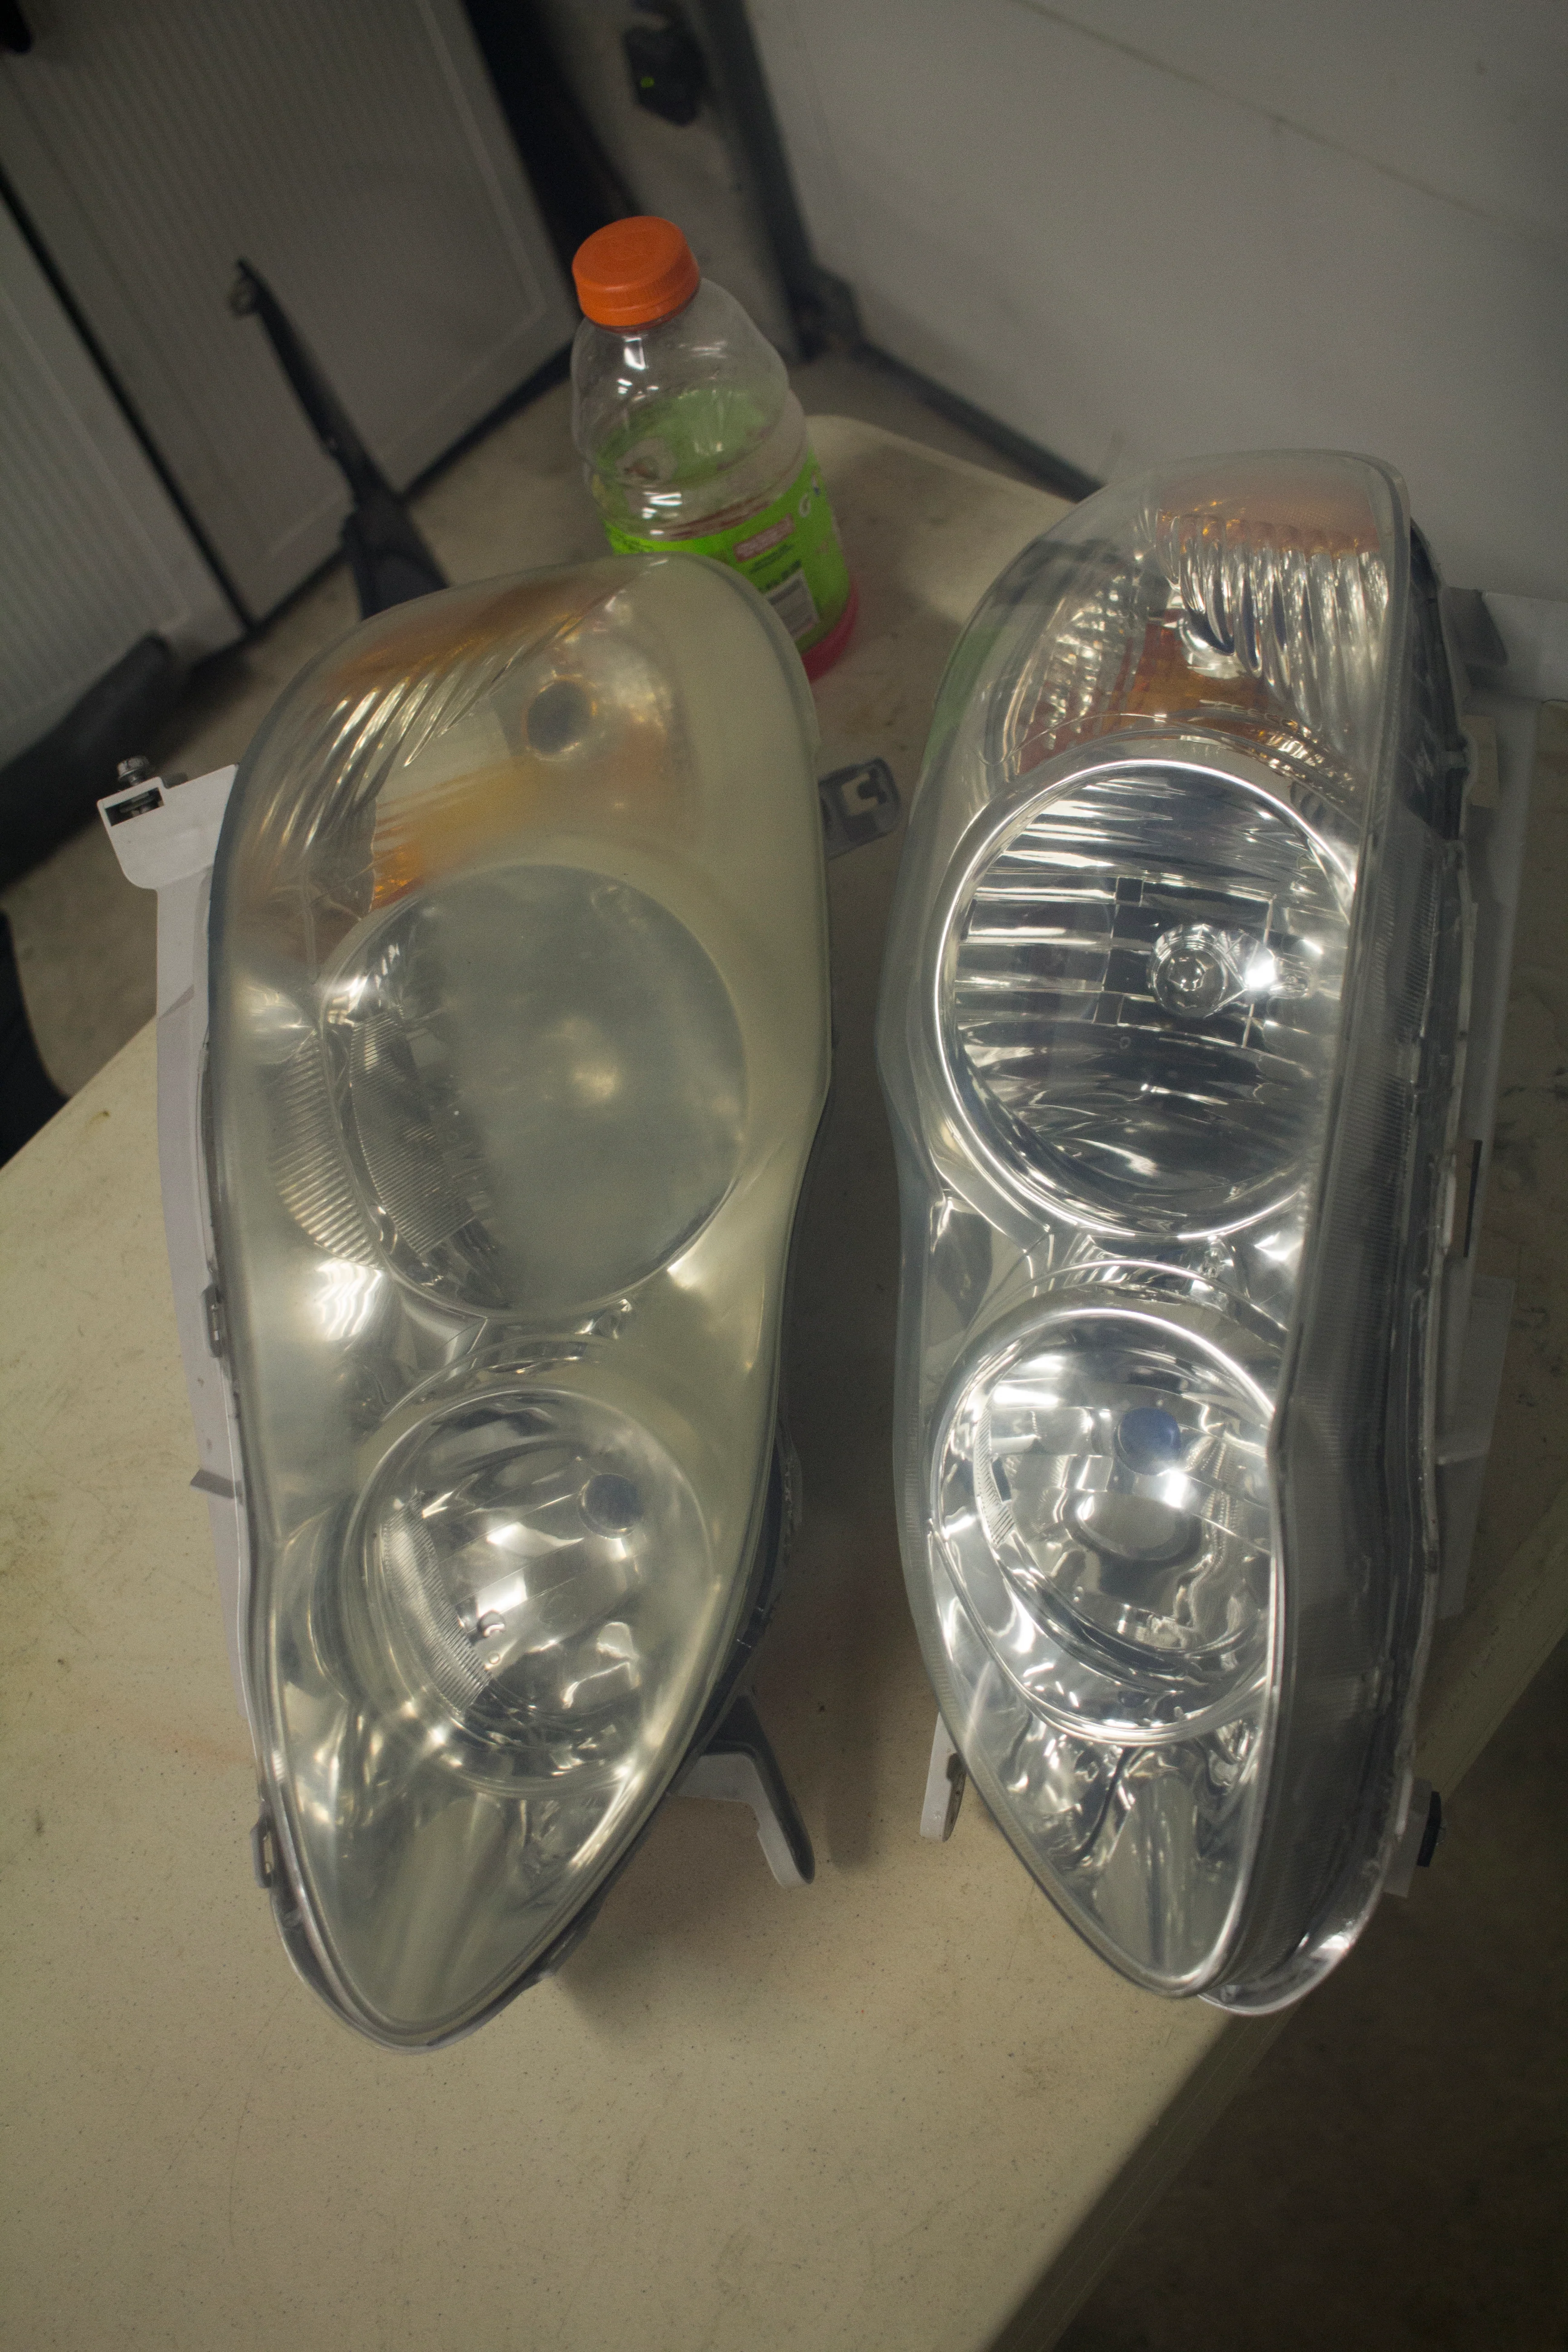
Before
!!!error: Indecipherable SUB-paragraph formatting!!!
After
Step 10: Put everything away
The jobs not done until everything is put away.
Step 11: Admire

Overall, I think this went very well. Time will tell if it lasts longer than my previous attempt. I think it takes some years off the appearance of my car. I think I put about 6-8 hours in it but could have done it much faster if I wasn’t taking my time. It definitely helped me feel more productive and distracted me from my mental health issues.
Total costs: $38
$15 for the headlight restoration kit (sandpaper disks, drill attachment, polishing formula, polishing drill attachment)
$6 for the coat
$17 for the paint sealant (large bottle and will get many uses of of it)
Overall, I think this isn’t too bad. It really depends on how long it lasts. It is a lot cheaper than buying new headlights. Even buying non-Toyota housings looked like $80 at the cheapest and around $120 for quality non-OEM.
Other Repairs
I also repaired my bumper where it split with two pieces of aluminum and some rivets. Also I got the bumper to fit evenly by pushing out a dent on the passenger front fender. Finally I did a temporary fix on the broken driver front wheel well liner by zip-tying what was left and cutting away any sections that would rub on the tire (I had zip-tied these sections away from the tire before). Next weekend I will be installing a new gauge cluster cover as the current one is pitted and scratched up pretty badly and is hard to read.
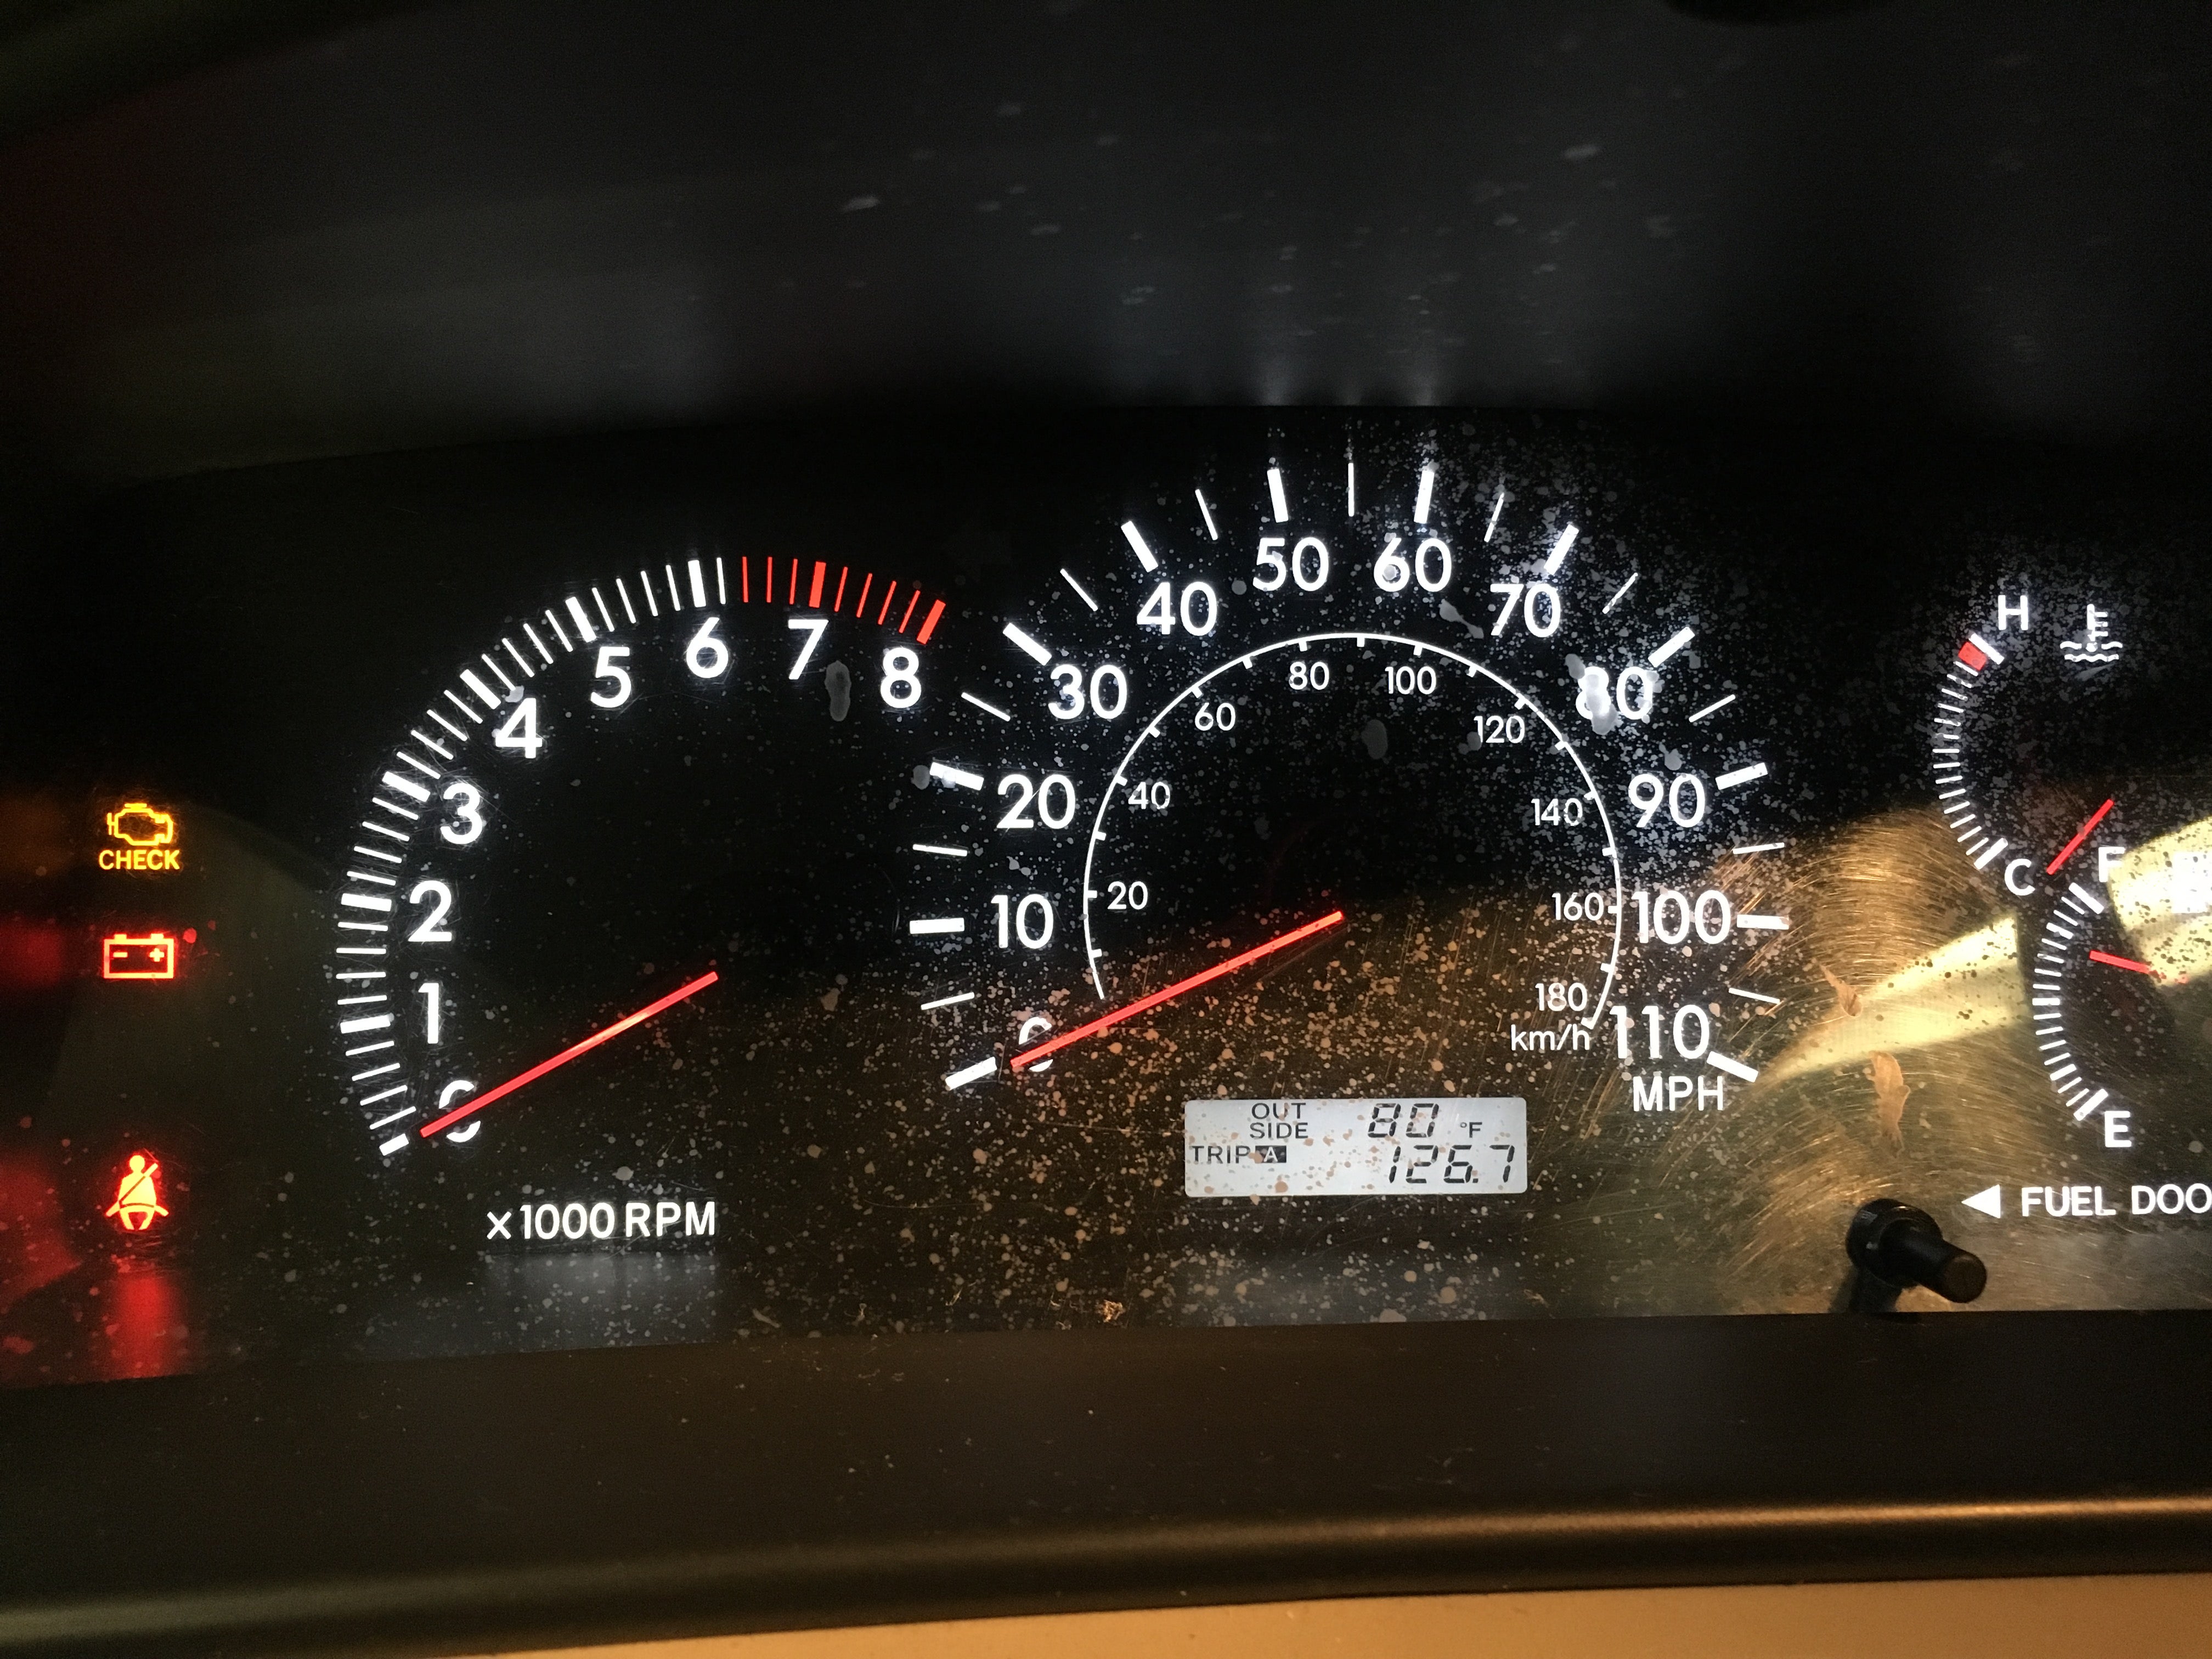
It’s worse in the daylight.
Thanks for reading! Please comment with questions, suggestions and thoughts.
 BenStone04
> Captain of the Enterprise
BenStone04
> Captain of the Enterprise
07/23/2017 at 17:35 |
|
Looks great! I’ll add that places like Sam’s will polish and seal headlights with a good warranty for $50.
|
Captain of the Enterprise
> BenStone04
07/23/2017 at 17:42 |
|
Thank you!
Do you mean Sam’s Club or something else?
 MM54
> Captain of the Enterprise
MM54
> Captain of the Enterprise
07/23/2017 at 17:43 |
|
The cluster lens in my crown vic looked like that (maybe a bit worse) - some Meguiar’s PlastX and some elbow grease with a microfiber (with the lens removed from the car of course) brought it back to like-new. Not sure what the cost of that lens is for your car new (if you can get them?) but it’s something to keep in mind.
 That Bastard Kurtis - An Attempt to Standardize My Username Across Platforms
> Captain of the Enterprise
That Bastard Kurtis - An Attempt to Standardize My Username Across Platforms
> Captain of the Enterprise
07/23/2017 at 17:47 |
|
Here’s a top tip: if you’re a cheap jerk like me and you’re just selling the car, you can skip all of that and just clearcoat the lens to make it ‘clear’ but not necessarily good.
|
Captain of the Enterprise
> MM54
07/23/2017 at 17:48 |
|
The lens was OEM and available for $20 plus shipping ($8). I thought about trying to buff it out but it does have some pitting that you can feel. So I’m not sure if I would get all of it out. I don’t know how long it would last either and didn’t want to have to redo it a lot. I figured for $28 it wasn’t too bad of a deal for brand new. I might give your method a shot anyway when I take it off to see what I can do to it.
|
Captain of the Enterprise
> That Bastard Kurtis - An Attempt to Standardize My Username Across Platforms
07/23/2017 at 17:52 |
|
I was thinking about selling it and moving to a 2009 Forester when someone a professor I work with sells it but I think I’ll be keeping it until I graduate and get a better job. I would have to take on the payment (the Corolla is paid off) and the insurance increase since my current car is PLPD.
|
MM54
> Captain of the Enterprise
07/23/2017 at 17:52 |
|
Oh, yeah for $28 just replace it haha
|
Captain of the Enterprise
> MM54
07/23/2017 at 18:01 |
|
I was surprised. I thought it would be much more. I’m glad I can just swap the cover instead of the entire gauge assembly.
 PowderHound
> Captain of the Enterprise
PowderHound
> Captain of the Enterprise
07/23/2017 at 18:05 |
|
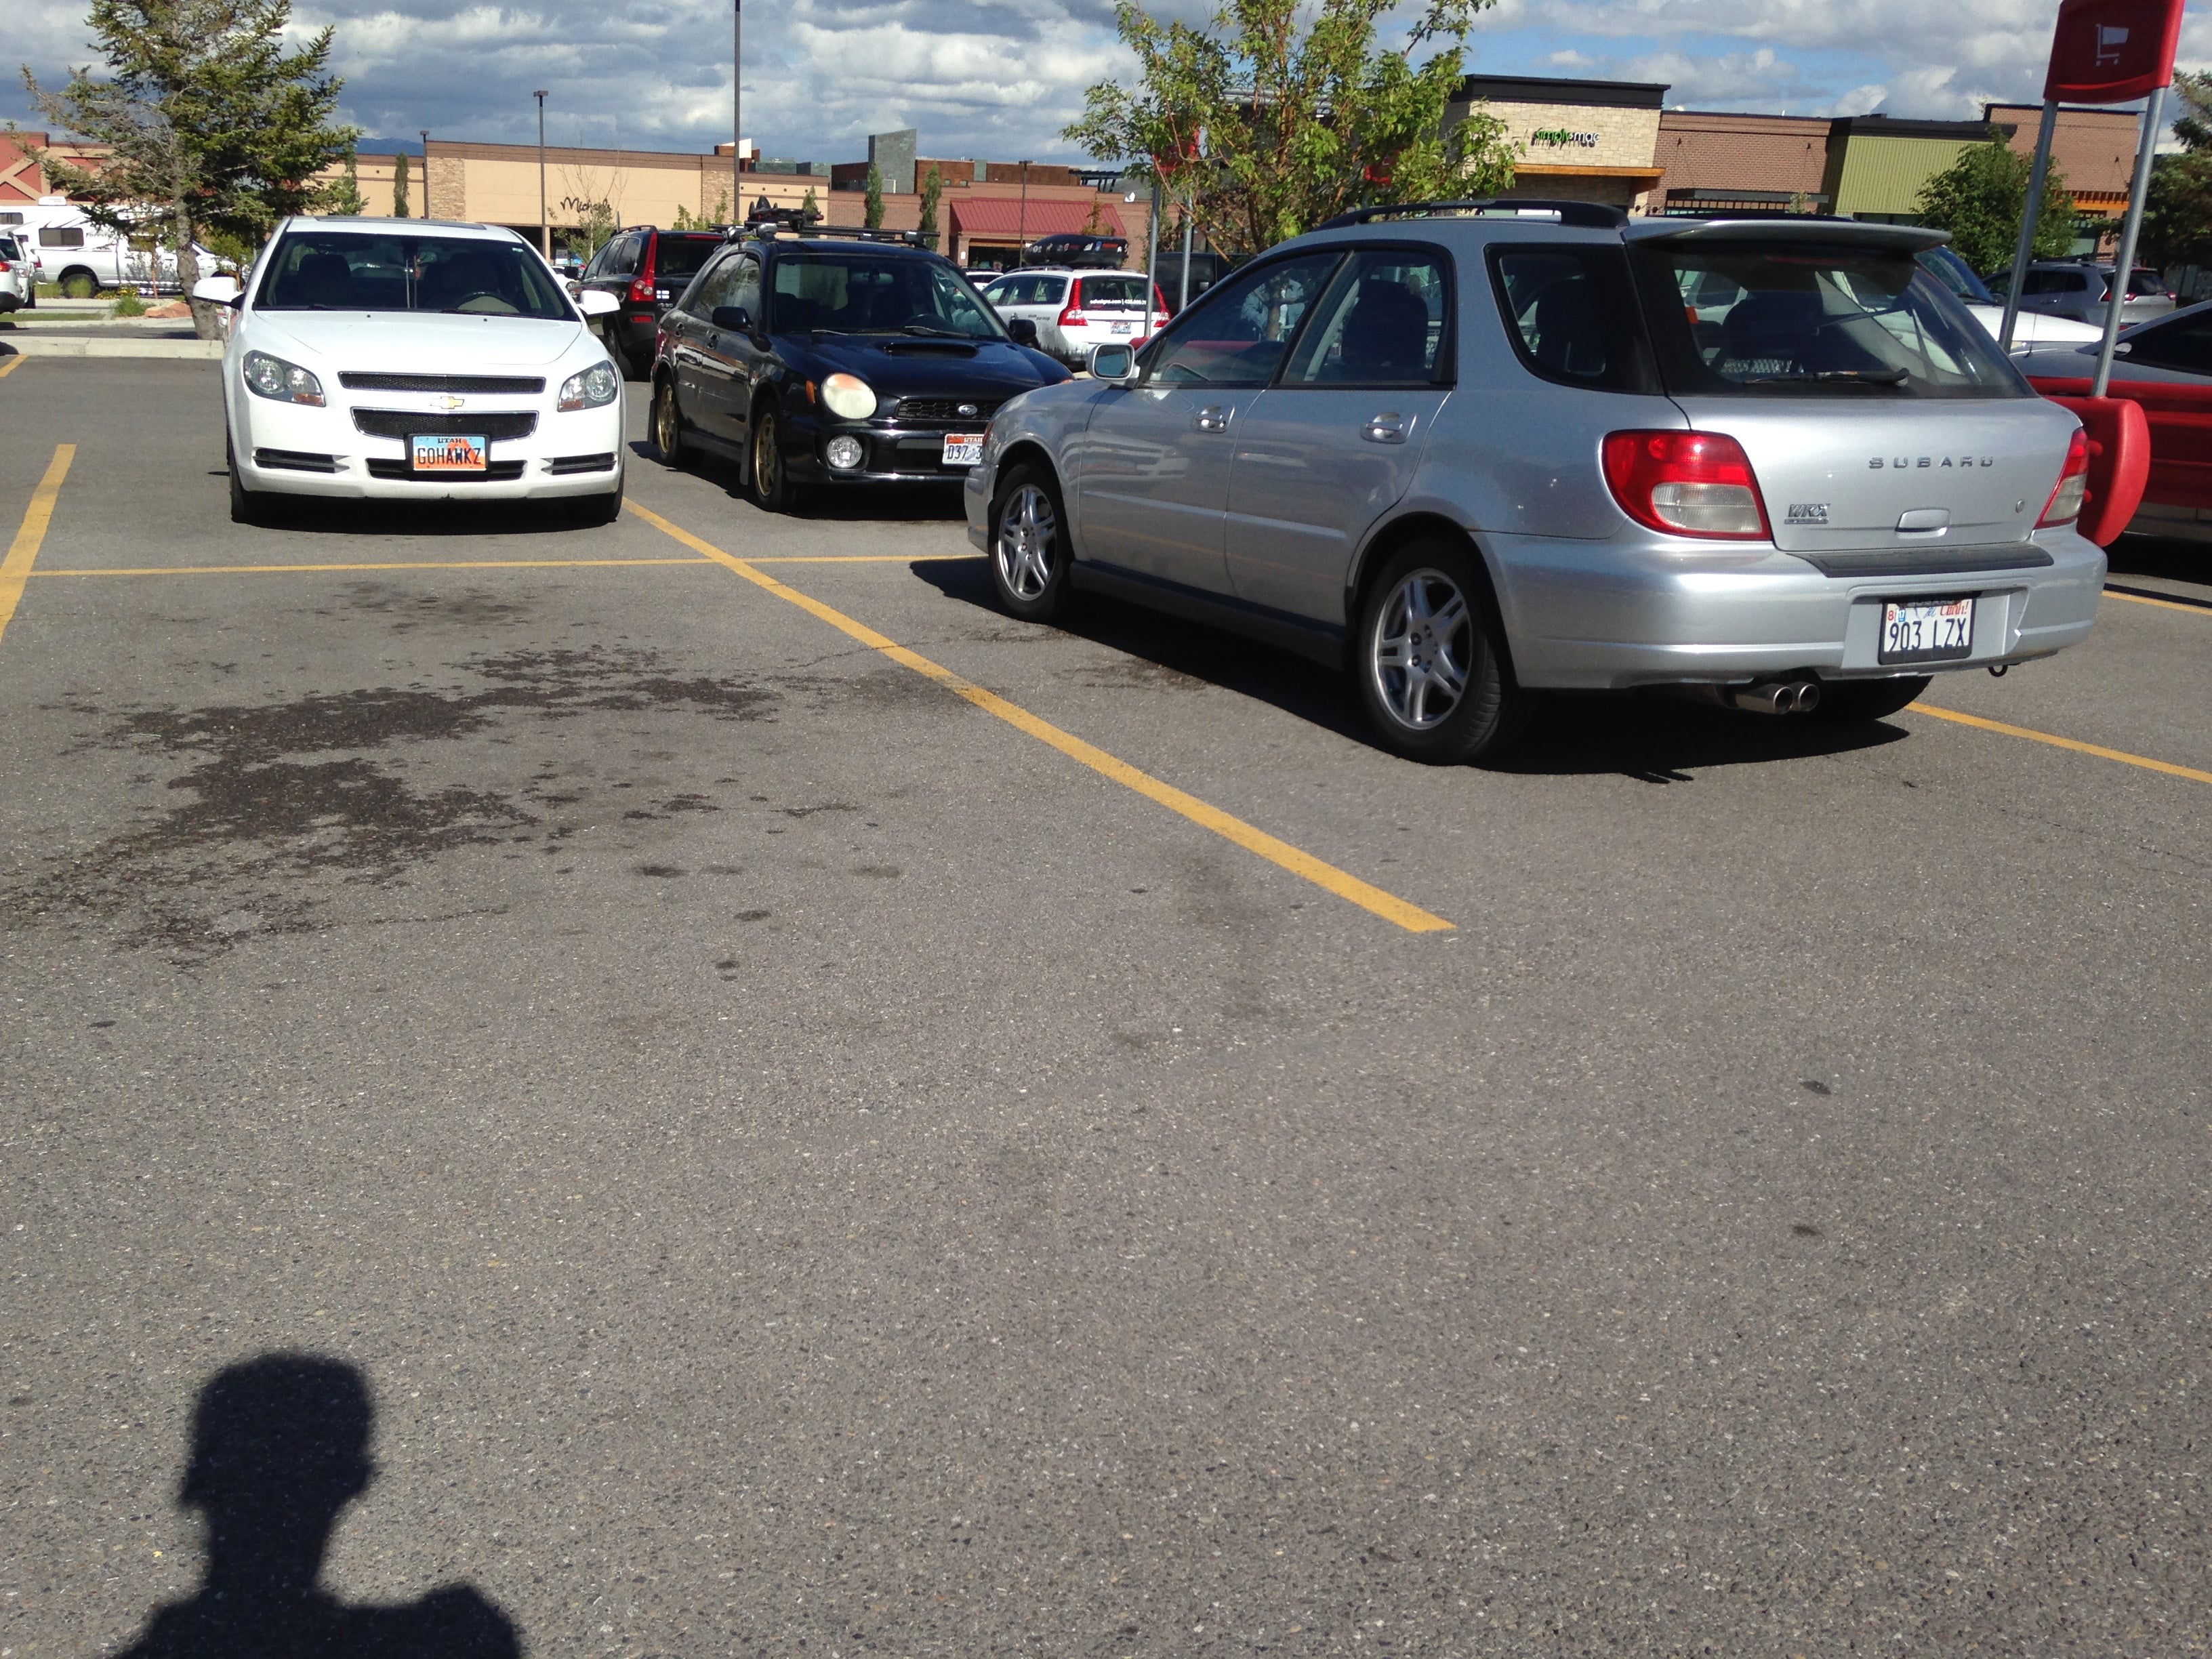
I did this same thing today with a 3m kit. Turned out great! No photos yet since my phone is near dead but here is an old one that shows the worst offender ( black Subaru)
|
Captain of the Enterprise
> PowderHound
07/23/2017 at 18:15 |
|
I like your Subaru! Glad it worked out for you too!
 Nibbles
> Captain of the Enterprise
Nibbles
> Captain of the Enterprise
07/23/2017 at 18:41 |
|
I’ve seen it many times but don’t understand how it happens:
How does one get the gauge cluster lens to pit so badly?
 avalonian
> BenStone04
avalonian
> BenStone04
07/23/2017 at 19:44 |
|
Really, Sam’s club? I might take mine!
|
Captain of the Enterprise
> Nibbles
07/23/2017 at 20:25 |
|
I have no idea. I’m the second owner and they took good care of it based on what I’ve seen thus far. I can’t imagine what causes it.
|
BenStone04
> Captain of the Enterprise
07/25/2017 at 01:21 |
|
Yes, Sam’s club. Was $50 here in Austin about 6 months ago. Just make sure they mask off your hood/windshield as the first time I had them do it they sprayed clear coat on my windshield.